 Skip to content
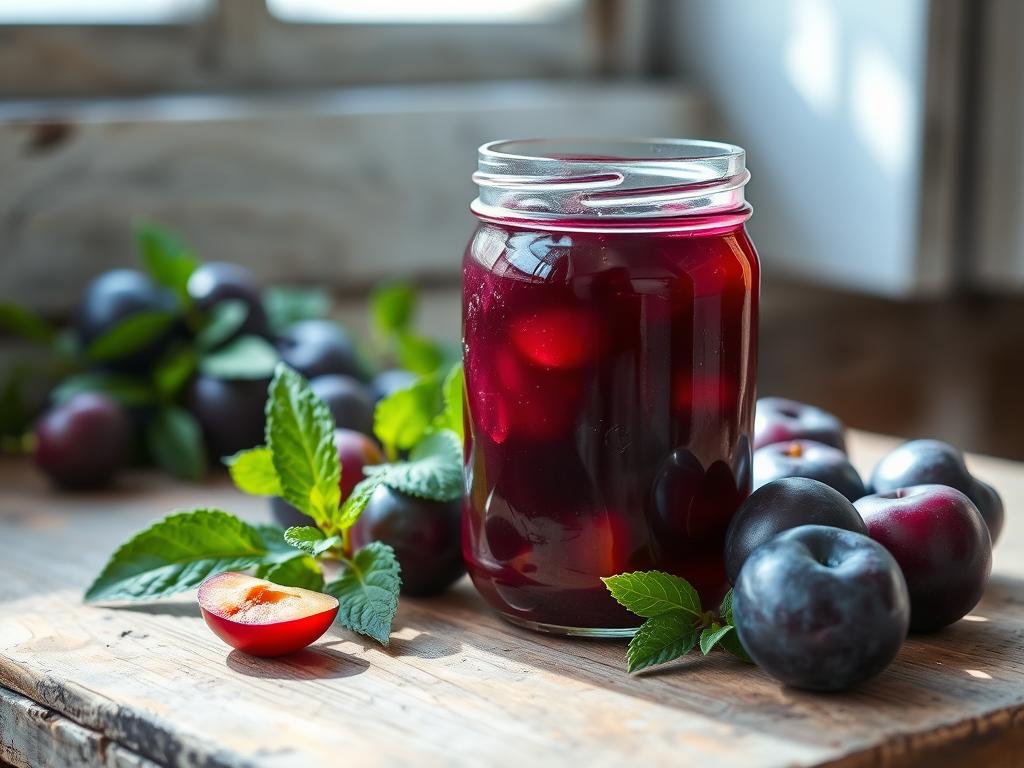
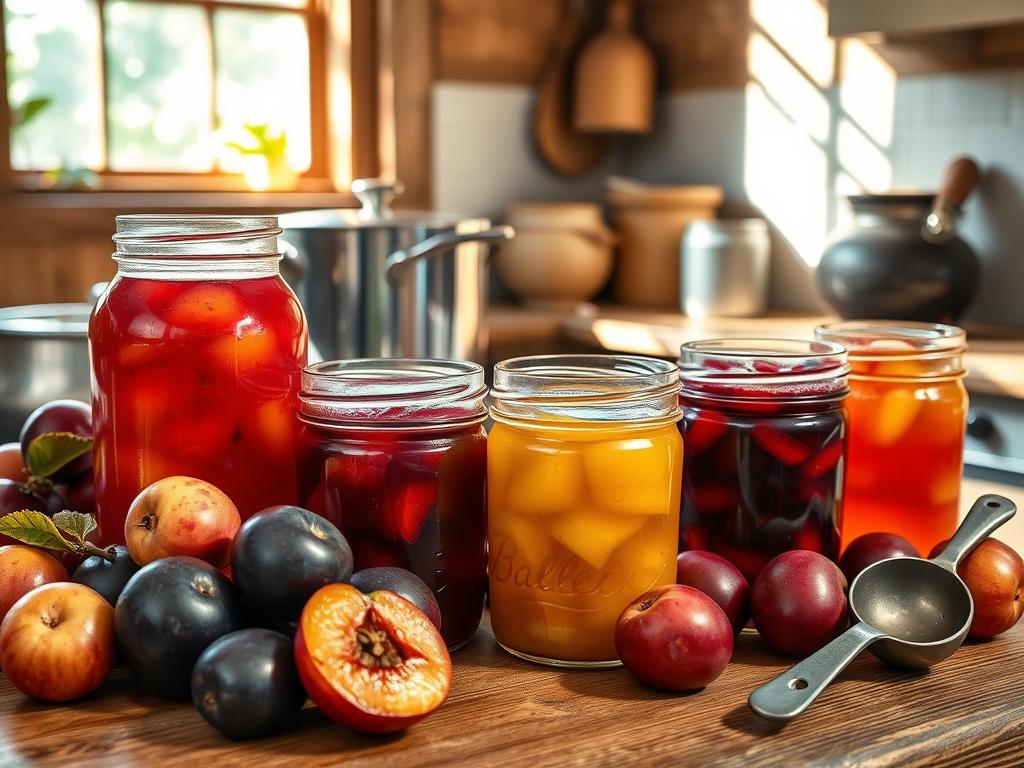
Homemade plum jelly is special because you can choose what goes into it. You can make it sweet or tangy, just how you like. It’s great on toast, biscuits, and more. Making your own plum jelly is fun and rewarding.
Choosing the right plums is the first step. Then, you’ll learn how to can and store your jelly. With simple recipes, you can make a delicious spread at home. It’s perfect for any time.
The Joy of Making Homemade Plum Jelly
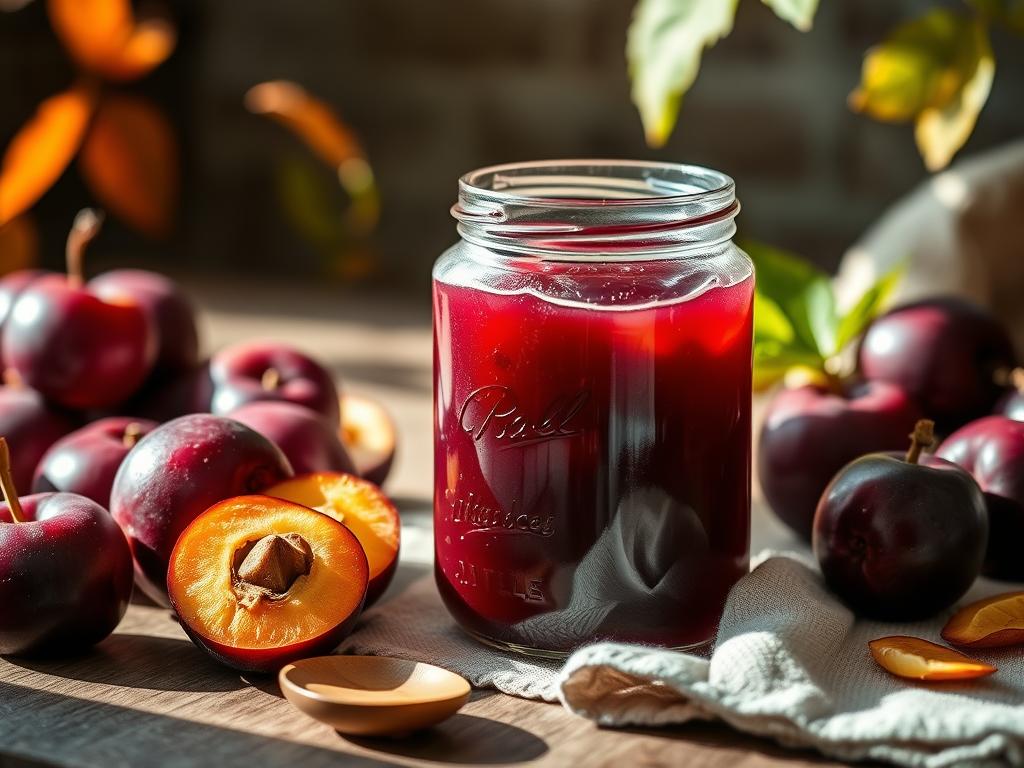
Making homemade plum jelly is fun. It lets you enjoy the sweet and tart taste of plums. You get to choose what goes into it, how sweet it is, and its texture.
Using natural ingredients is a big plus of diy plum jelly. Plums have pectin, so you don’t need to add much. This makes making jelly easier.
To make jelly just right, you need to know a bit about science. The jelly should set at about 220°F. With the right stuff, you can make tasty homemade fruit preserves for toast, yogurt, or meat glaze.
Benefits of Making Your Own Jelly
When you make your own jelly, you can use less sugar. This makes it healthier than store-bought. Plus, you can try new flavors and ingredients, making diy plum jelly a fun hobby.
Understanding the Science Behind Jelly Making
Jelly making is all about pectin, sugar, and acid. Knowing this lets you make homemade jelly making recipes just how you like them.
Why Plums Make Perfect Jelly
Plums are great for jelly because they’re sweet and a bit tart. With the right stuff, you can make delicious homemade plum jelly for any time.
Essential Equipment for Jelly Making
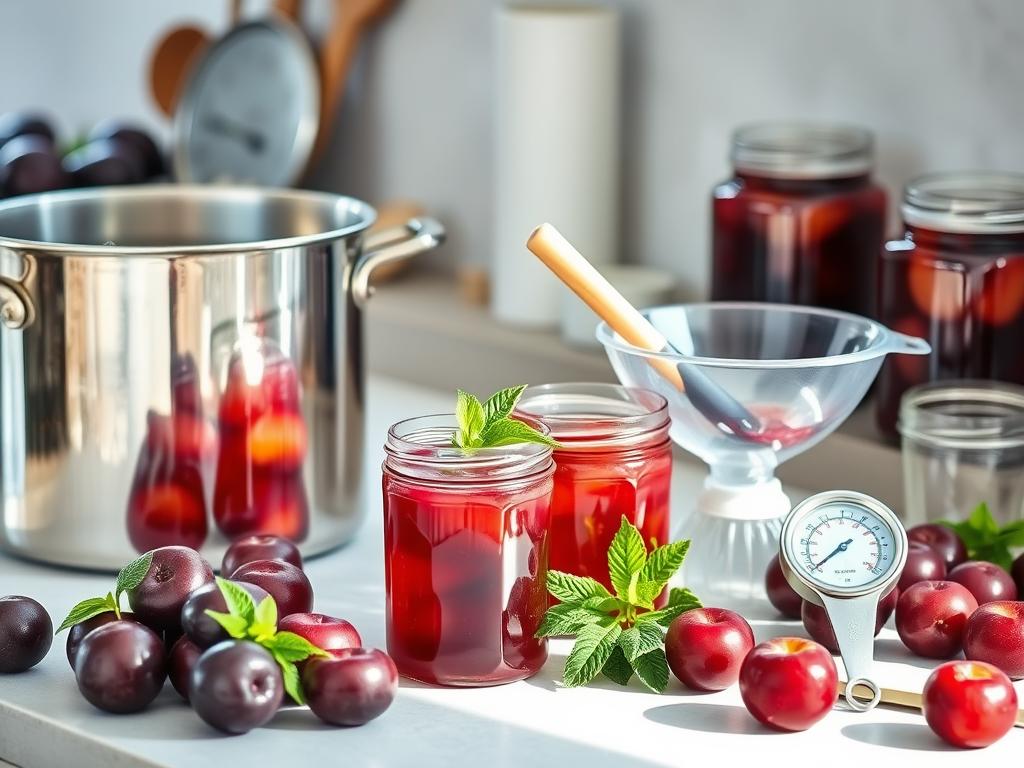
Preserving plums and making homemade jams need the right tools. You’ll need a big pot, a strainer, and jars with lids and bands. Also, a canner or a big pot with a rack is key for processing jars.
Here’s what you need for jelly making:
- A heavy, 8- to 10-quart stainless-steel pot for cooking the plum mixture
- A strainer or food mill to extract the juice from the plums
- Jars with lids and bands for canning and storing the homemade jelly
- A canner or a large pot with a rack for processing the jars
Also, keep your workspace clean and sanitized. Wash jars and screw bands in hot soapy water. Then, rinse them with warm water. With the right tools and techniques, your homemade plum jelly will last for months.
Always follow safe canning practices. This keeps your homemade jelly quality and safe.
| Equipment | Description |
|---|---|
| Large Pot | For cooking the plum mixture |
| Strainer | For extracting the juice from the plums |
| Jars with Lids and Bands | For canning and storing the homemade jelly |
| Canner or Large Pot with Rack | For processing the jars |
Selecting the Perfect Plums
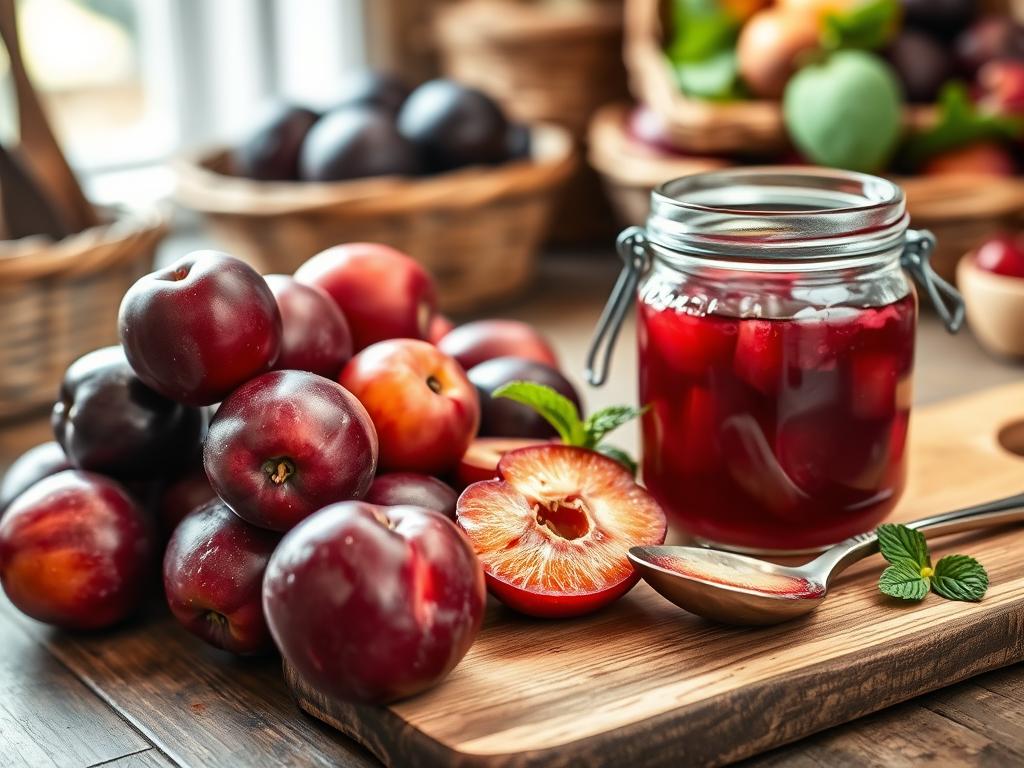
Choosing the right plums is key for a tasty plum jelly recipe. You need plums that are both sweet and tart. Wild plums or store-bought plums work great.
Make sure the plums are ripe. Ripe plums cook better and taste better. Check if they’re soft to the touch.
Best Plum Varieties for Jelly
For jelly, try Santa Rosa, Methley, or Italian Prune plums. They taste sweet and tart, perfect for plum jelly recipe.
Ripeness Guidelines
Look for plums that are firm but not hard. Stay away from soft or mushy ones. A ripe plum will have a deep purple color.
Seasonal Availability
Plums are available all year, but jelly is best in late summer or early fall. This is when they’re sweetest and tastiest for homemade plum jelly.
Follow these tips to pick the best plums for your plum jelly recipe. You’ll make a yummy homemade plum jelly to enjoy all year.
| Plum Variety | Flavor | Ripeness |
|---|---|---|
| Santa Rosa | Sweet and Tart | Firm, but not hard |
| Methley | Sweet and Tart | Firm, but not hard |
| Italian Prune | Sweet and Tart | Firm, but not hard |
Preparing Your Kitchen for Jelly Making
To start making your homemade plum jelly, you need to get your kitchen ready. This means washing and sterilizing your tools, getting your jars and lids ready, and having all ingredients on hand. A clean and organized kitchen is key for safe and successful jelly making. You can find many easy canning recipes online to help you.
For making homemade fruit preserves, you need the right stuff. You’ll need a big pot for cooking the plums, a strainer for getting the juice, and jars for storing the jelly. With the right tools and a bit of practice, you can make tasty homemade fruit preserves using easy canning recipes.
Some important things to remember when getting your kitchen ready for jelly making are:
- Washing and sterilizing all equipment to prevent contamination
- Having all necessary ingredients and supplies within reach
- Following a trusted recipe for easy canning recipes and homemade fruit preserves
By following these tips and using easy canning recipes, you can make delicious homemade fruit preserves. They’re great for snacking, as gifts, or in your favorite recipes.
| Equipment | Description |
|---|---|
| Large Pot | For cooking the plums |
| Strainer | For extracting the juice |
| Jars | For storing the final product |
Basic Ingredients for Perfect Plum Jelly
Homemade jelly making needs the right ingredients. For plum jelly, you need plums, water, pectin, and sugar. The plum type affects pectin needs, so pick wisely.
First, simmer plums with water to get juice. This makes about 5-1/2 cups of juice. Then, add pectin and sugar to get the jelly right. Sugar ratio matters for taste and texture.
You can add spices or citrus zest for extra flavor. Some use butter to stop foaming. Boil the jelly for one minute after adding pectin and sugar, stirring constantly.
| Ingredient | Quantity |
|---|---|
| Plums | 5 lbs |
| Water | 1.5 cups |
| Pectin | 1 box (1.75 oz) |
| Sugar | 6.5 cups |
Follow these steps and use the right ingredients. You’ll make tasty homemade plum jelly. Enjoy it all year.
Step-by-Step Guide to Making Homemade Plum Jelly
To make tasty homemade plum jelly, start by simmering plums and water in a pot. Do this until the plums are soft, about 30 minutes. This step gets the plums’ juices and flavors out, making the jelly rich and tangy.
After the plums are soft, strain the mix to get rid of the solids. This leaves you with a smooth, tasty liquid. Now, add pectin and sugar to the liquid. This makes the mix thick and sweet, with a tangy taste.
- Simmer the plums and water in a stockpot until the plums are tender
- Strain the mixture to remove the solids
- Add pectin and sugar to the liquid
- Bring the mixture to a boil and cook until the jelly is set
By following these easy steps, you can make your own plum jam recipe at home. Use fresh, natural ingredients. With a bit of patience and practice, you’ll soon enjoy your own homemade plum jelly.
Proper Canning Techniques for Long-Term Storage
Canning homemade jams like plum jelly is key for safe storage. You must sterilize jars and lids, boil them, and follow safety rules. This keeps your food safe and fresh.
First, boil jars and lids for 10-15 minutes. This kills bacteria. Then, heat your fruit preserves until boiling. Fill the jars, leaving space at the top.
After filling and sealing, boil the jars for 5-30 minutes. This time varies by altitude and canner type. Use a water bath canner or a big pot with a rack to keep jars off the bottom.
Sterilization Methods
There are ways to sterilize jars and lids. Boiling them in water for 10-15 minutes works well. You can also use a dishwasher’s sterilization cycle.
Processing Times
Processing times change based on fruit type, jar size, and altitude. Always use a tested recipe for safety. Times usually range from 5-30 minutes, sometimes more or less.
Safety Guidelines
When canning, follow safety rules to avoid illness. Use clean jars and lids, follow canning steps, and store in a cool, dark place. These steps help your homemade jams last long.
Troubleshooting Common Jelly Making Problems
Homemade jelly making can be tricky, like preserving plums. You might face issues like jelly that’s too runny or thick. Or, jars that don’t seal right, or jelly with mold or yeast.
To fix these issues, knowing the causes helps. If your jelly is too runny, add 0.5 to 1 cup of pectin or acidic fruit juice. For jelly that’s too thick, add a bit of water or cook it less.
Here are some common problems and their solutions:
- Soft or runny jelly: reprocess with an additional 0.5 to 1 cup of pectin or acidic fruit juice
- Jelly that is too thick: add a little more water or cook for a shorter time
- Jars that don’t seal properly: check the lids and seals for any signs of damage or wear
- Jelly that is contaminated with mold or yeast: discard the jelly and start again with fresh ingredients
By following these tips, you can make delicious homemade jelly. It will last for months. Always use the right ingredients and follow a tested recipe. Pay attention to pH level and sugar-to-fruit ratio for proper gel formation.
For more info on homemade jelly making and preserving plums, talk to experts or check online resources. With practice and patience, you’ll become great at making yummy homemade jelly. It will impress your friends and family.
| Problem | Solution |
|---|---|
| Soft or runny jelly | Reprocess with an additional 0.5 to 1 cup of pectin or acidic fruit juice |
| Jelly that is too thick | Add a little more water or cook for a shorter time |
| Jars that don’t seal properly | Check the lids and seals for any signs of damage or wear |
| Jelly that is contaminated with mold or yeast | Discard the jelly and start again with fresh ingredients |
Creative Ways to Use Your Plum Jelly
Now that you’ve made your own plum jelly, it’s time to get creative. You can spread it on toast or biscuits. Or use it as a filling for cakes and pastries. The possibilities are endless, and you can make it your own.
Some ideas for using your plum jelly include:
- Using it as a topping for yogurt or ice cream
- As a sauce for pancakes and waffles
- As a glaze for meats and cheeses
You can also try new things, like pairing it with cheese and crackers. Or use it in cookies. The most important thing is to have fun and be creative.
With a little imagination, you can find many ways to use your homemade plum jelly. So go ahead, get creative, and enjoy what you’ve made!
| Recipe | Ingredients | Servings |
|---|---|---|
| Plum Good Crisp | 1.5 pounds plums, 8 ounces dark brown sugar, 4 ounces granulated sugar | 8 servings |
| Plum Cobbler | 1.5 pounds plums, 8 ounces dark brown sugar, 4 ounces granulated sugar | 8 servings |
Storage Tips and Shelf Life
Storing homemade fruit preserves right is key. You worked hard to make them. Keep them fresh and safe by following some tips. For jams you canned, store them in a cool, dark spot. Keep them away from sunlight and heat.
Unopened jars can last up to a year. Opened jars should go in the fridge and be used in a few weeks. Freezing them can make them last even longer. Here are some tips for storing:
- Store unopened jars in a cool, dark place
- Keep jars away from direct sunlight and heat sources
- Refrigerate opened jars and use within a few weeks
- Freeze homemade fruit preserves to extend shelf life
Homemade plum jam can last 3 weeks in the fridge. Follow these tips to enjoy your preserves longer. Always check for spoilage before eating, like bad smells or mold.
Proper storage keeps your homemade preserves fresh and safe. Whether it’s fruit preserves or canned jams, storing them right is important. This way, you can enjoy them for a longer time.
| Storage Method | Shelf Life |
|---|---|
| Unopened jars in cool, dark place | Up to 1 year |
| Opened jars in refrigerator | Up to 3 weeks |
| Frozen | Up to 6 months |
Seasonal Variations and Flavor Combinations
Preserving plums can be fun, thanks to seasonal changes and new flavors. Plums are in season from summer to early fall. This lets you make many jelly flavors you like.
Want to spice up your jelly? Try adding cinnamon and cloves. A teaspoon of cinnamon and half a teaspoon of cloves can make your jelly warm and spicy.
Exploring Spice Additions
You can also try nutmeg or ginger for a different taste. The goal is to mix spices just right. This way, they enhance the plum’s sweetness.
Fruit Combinations and Low-Sugar Options
Make your jelly special by mixing plums with berries or citrus. You can also use less sugar or honey for a healthier jelly.
- Plum and berry jelly, made with a combination of plums and mixed berries
- Plum and citrus jelly, made with a combination of plums and citrus fruits like oranges or lemons
- Spiced plum jelly, made with a blend of spices like cinnamon, cloves, and nutmeg
Try different flavors to make many homemade jelly types. This way, you can enjoy preserved plums all year.
| Flavor Combination | Ingredients | Description |
|---|---|---|
| Plum and Berry | Plums, mixed berries, sugar | A sweet and tangy jelly made with a combination of plums and mixed berries |
| Plum and Citrus | Plums, citrus fruits, sugar | A refreshing and zesty jelly made with a combination of plums and citrus fruits |
| Spiced Plum | Plums, spices, sugar | A warm and spicy jelly made with a blend of spices like cinnamon, cloves, and nutmeg |
Conclusion
Making your own homemade plum jelly is fun and rewarding. It lets you enjoy the sweet and tangy taste of plums. This guide has helped you learn how to make a tasty spread.
You can now make your plum jam recipe just the way you like it. Try different flavors to find your favorite.
Learning to make homemade plum jelly has given you great tips. You know how to make jelly and can it for later. This guide helped you solve any problems you might have.
Now, start making plum jelly and enjoy every step. Try new things and share your jelly with friends and family. Your homemade plum jelly will make your pantry even better.
FAQ
What are the benefits of making homemade plum jelly?
Making your own plum jelly lets you pick the ingredients. You can choose how sweet and what texture you want. It’s a fun way to enjoy plums’ sweet and tart taste.
What equipment do I need to make homemade plum jelly?
You’ll need a big pot, a strainer, and jars with lids. You also need a canner or a big pot with a rack. The right tools make jelly-making safe and fun.
What are the best plum varieties for making jelly?
Sweet and tart plums work best for jelly. Wild plums or store plums are good choices. Make sure they’re ripe for better flavor.
How do I properly prepare my kitchen for jelly making?
Clean and sterilize your tools. Get your jars and lids ready. Have all ingredients ready. A clean kitchen helps make jelly safely and well.
What are the basic ingredients for making plum jelly?
You need plums, water, pectin, and sugar. The amount of pectin and sugar changes with plum types. You can add spices or citrus zest for extra flavor.
How do I properly can and store homemade plum jelly?
Sterilize jars and lids for safe storage. Use a boiling water bath to process jars. Follow safety rules to avoid contamination. Processing time varies by altitude and canner type.
What are some common problems that can occur when making homemade plum jelly?
Jelly might be too runny or thick. Jars might not seal, or jelly could get moldy. Knowing the causes helps fix these problems.
How can I use my homemade plum jelly?
Use it on toast, in cakes, or as a glaze. It’s great on yogurt or ice cream. The uses are endless!
How long can I store homemade plum jelly?
Store it in a cool, dark place for a year. Once opened, keep it in the fridge for a few weeks. Freezing also extends its life.
Can I make seasonal or flavor variations of my homemade plum jelly?
Yes, try adding spices or mixing with other fruits. You can also make it less sweet by using honey or maple syrup.
